This functionality is available for Enterprise, Business, PRO, and Advanced subscriptions.
Users can create a nickname for Facebook, Instagram, and Google Business Profiles profiles.
How to create a nickname for existing profiles?
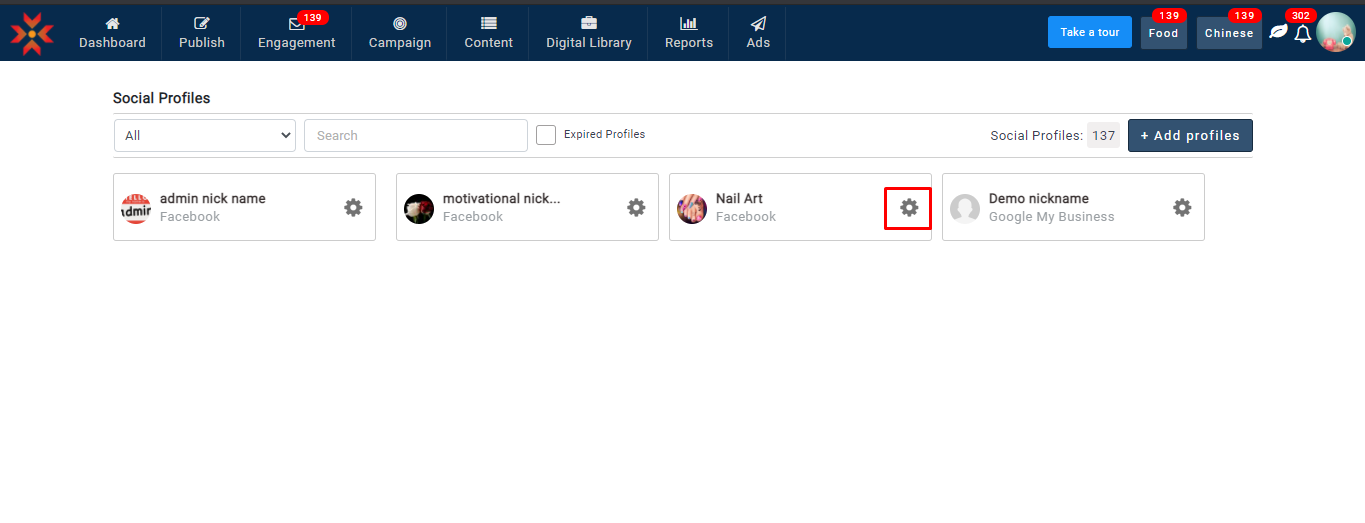
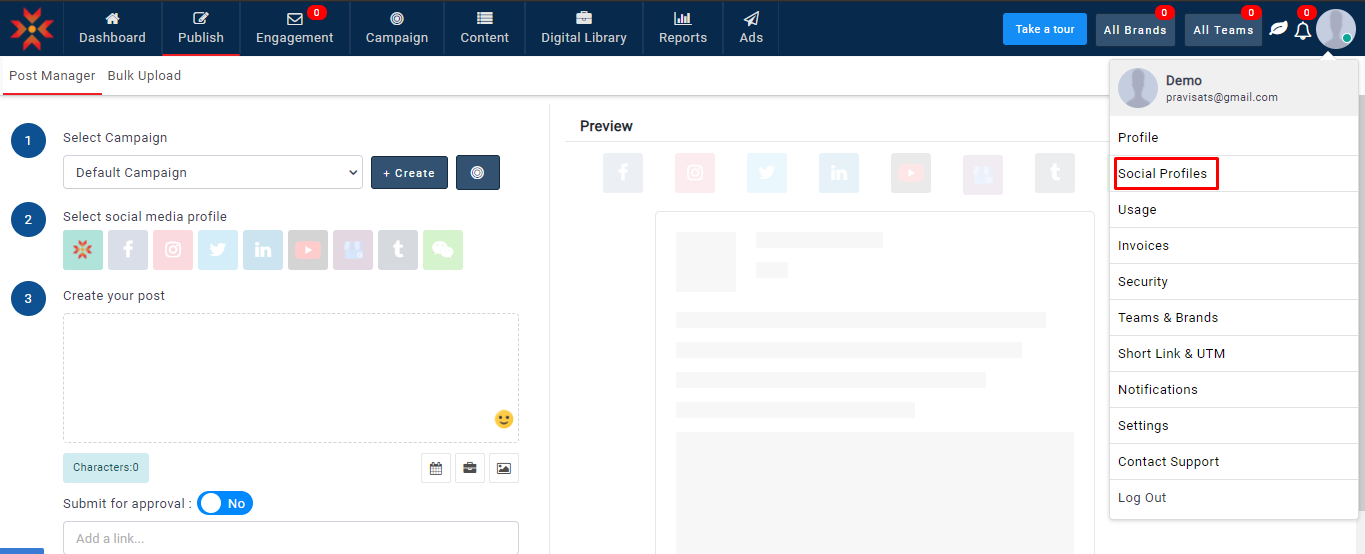
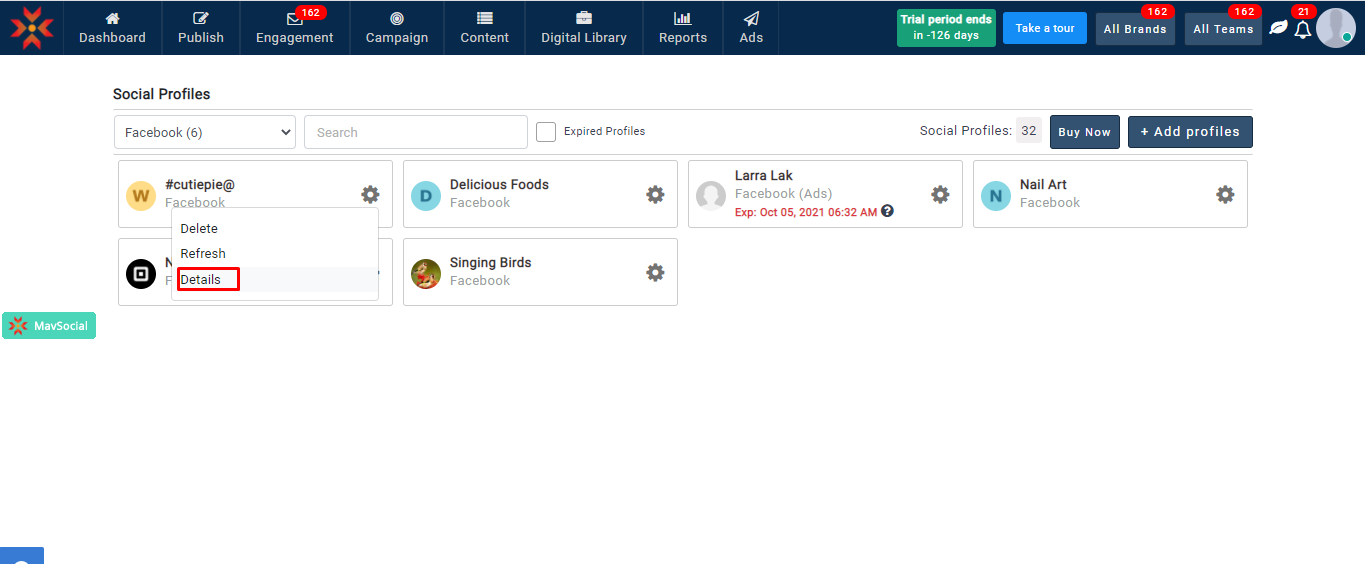
- Navigate to Account → Social Profiles

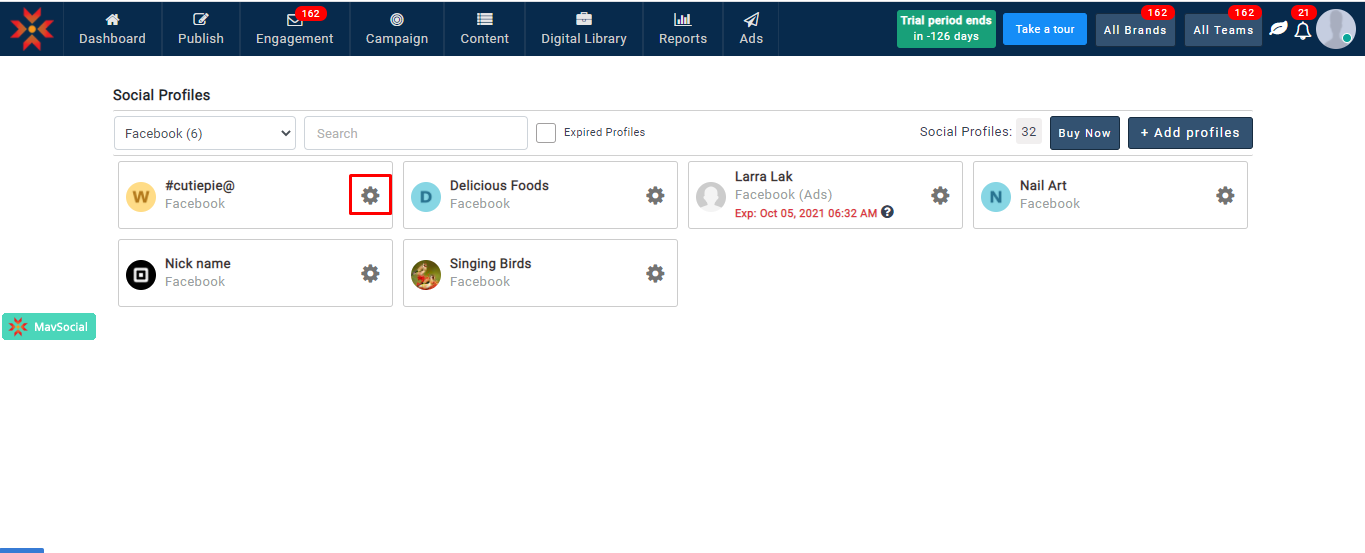
- Click on the gear icon for the Facebook profile, for which you want to create a nickname.
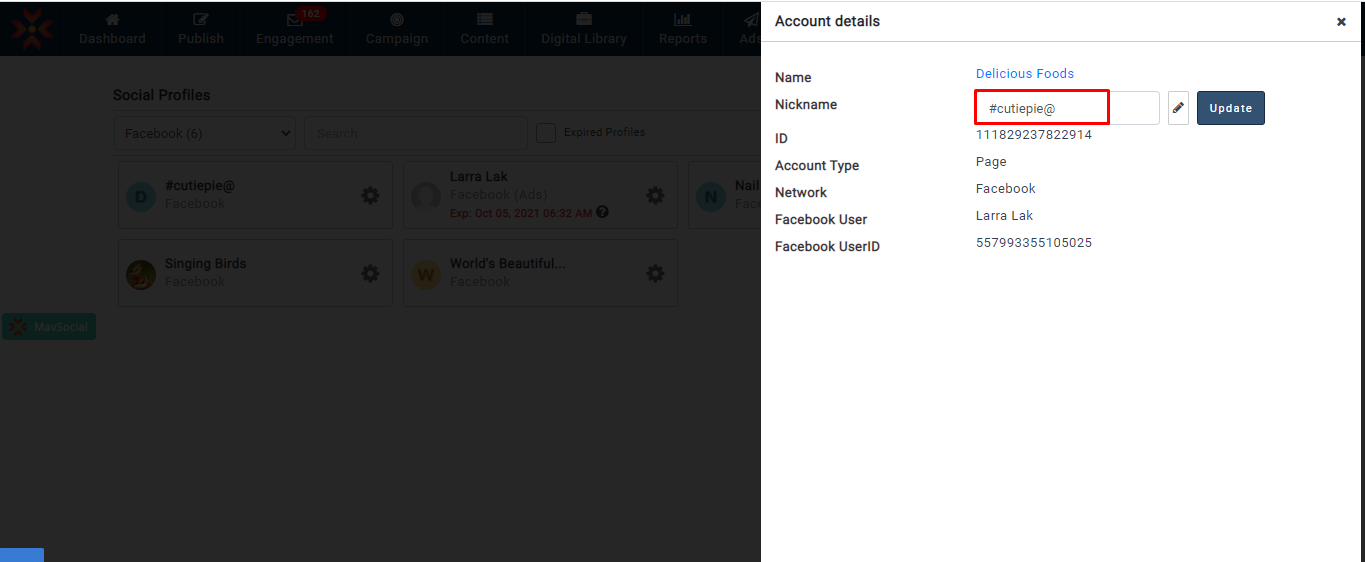
- Select Details
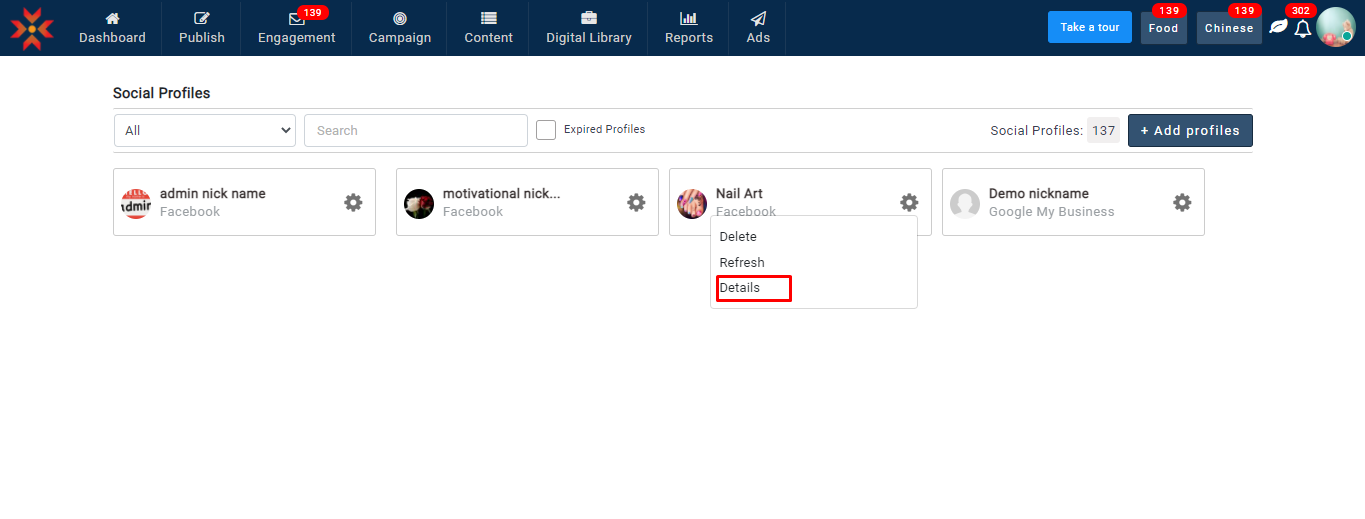
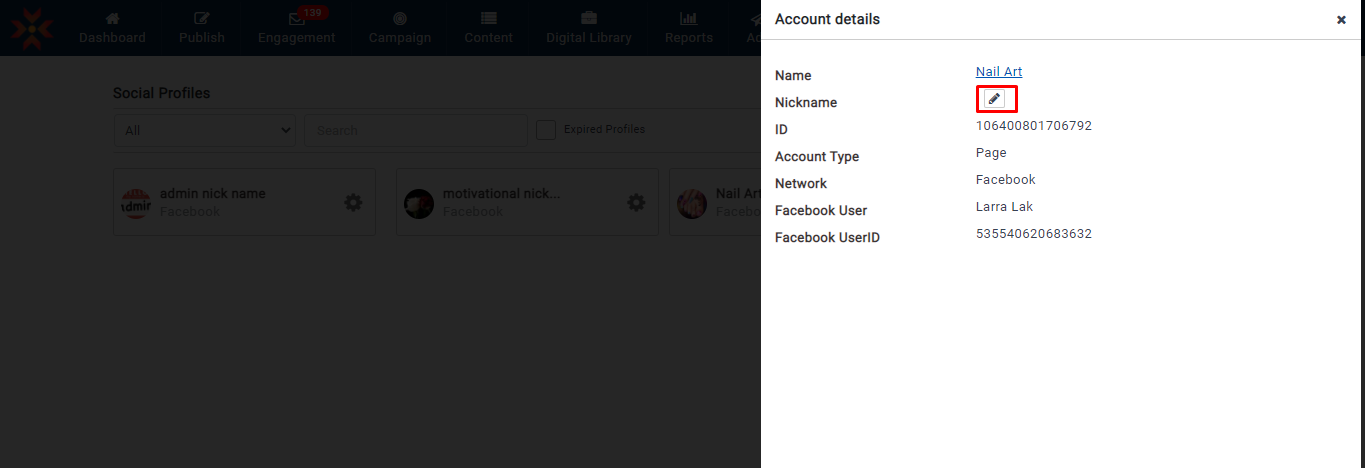
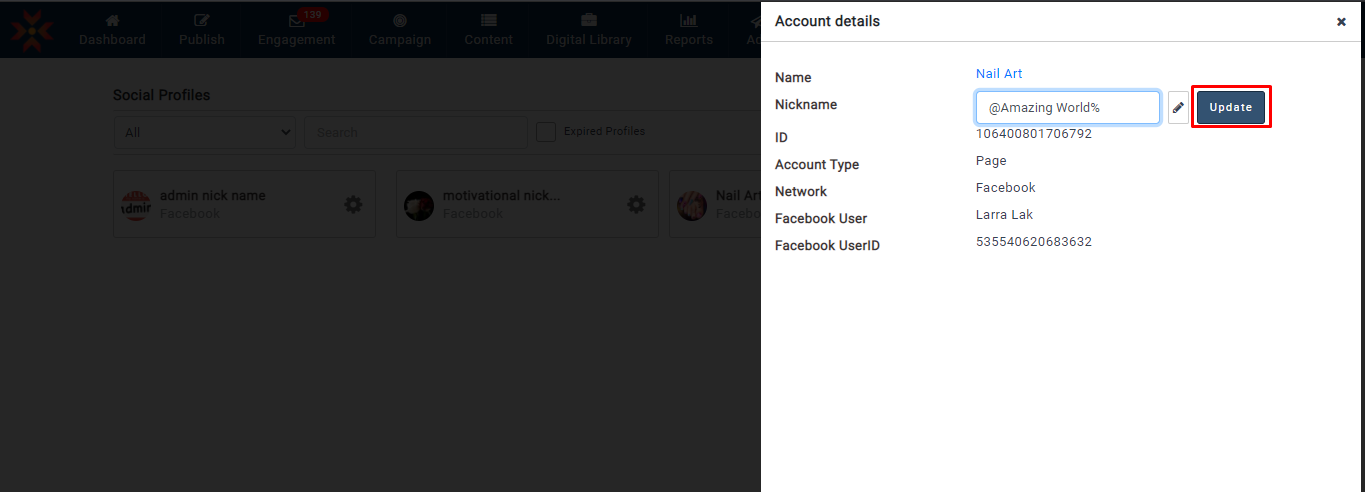
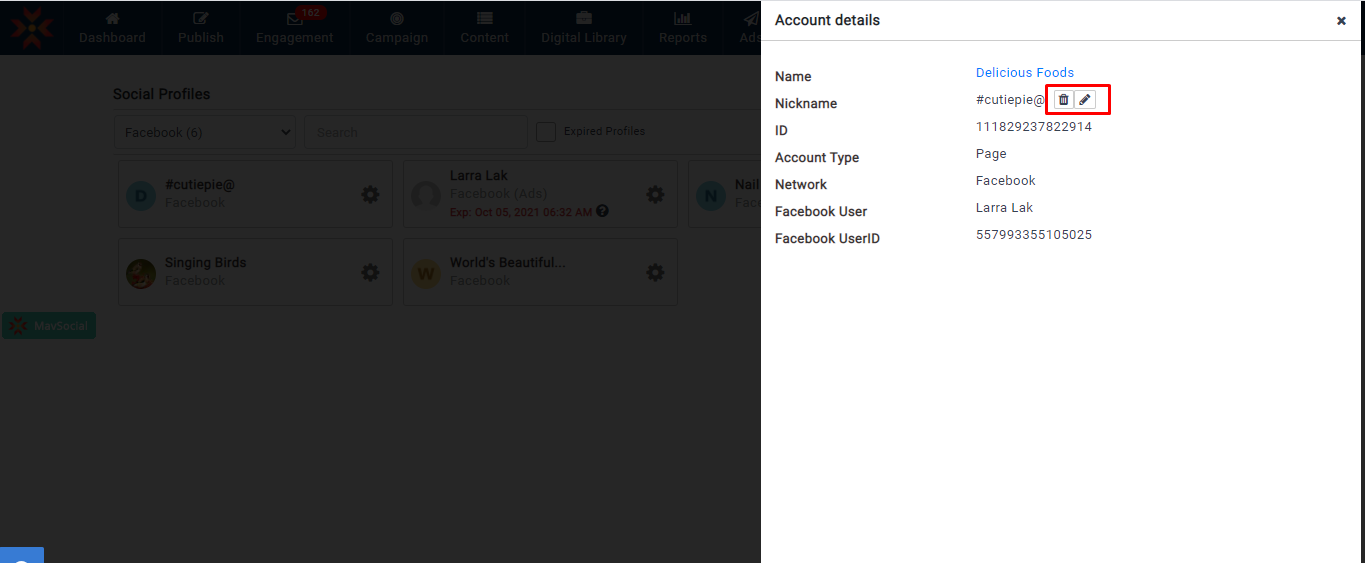
- Here you can see an option called ‘Nickname.’

- Click the pen icon to create a nickname.
- You can give a nickname in the text box.
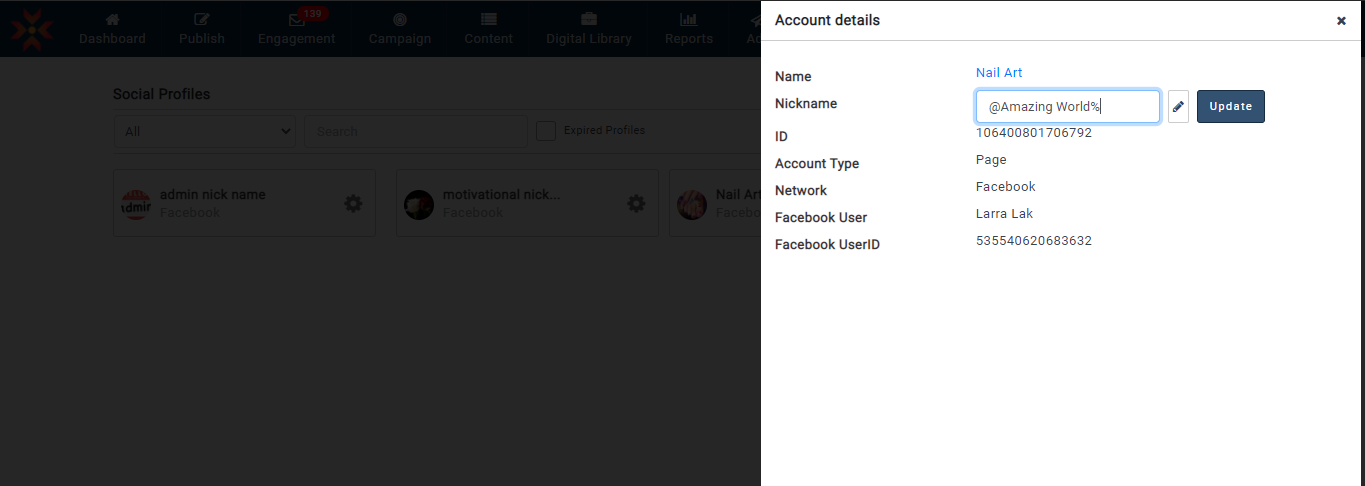
- Click update
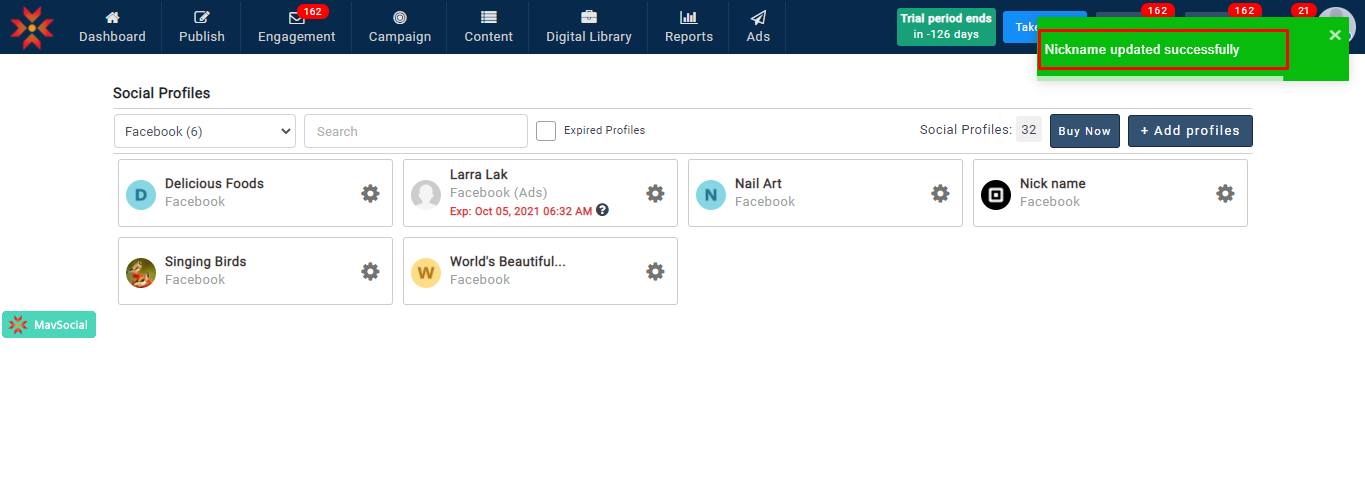
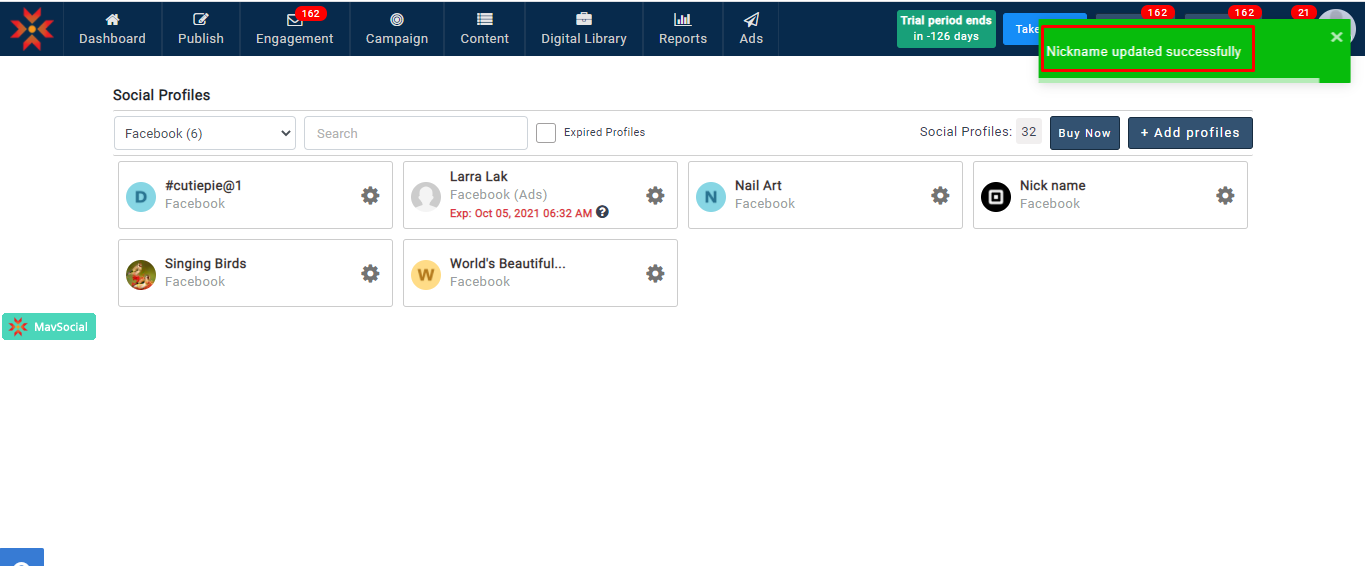
- You will see a notification once you create the nickname.
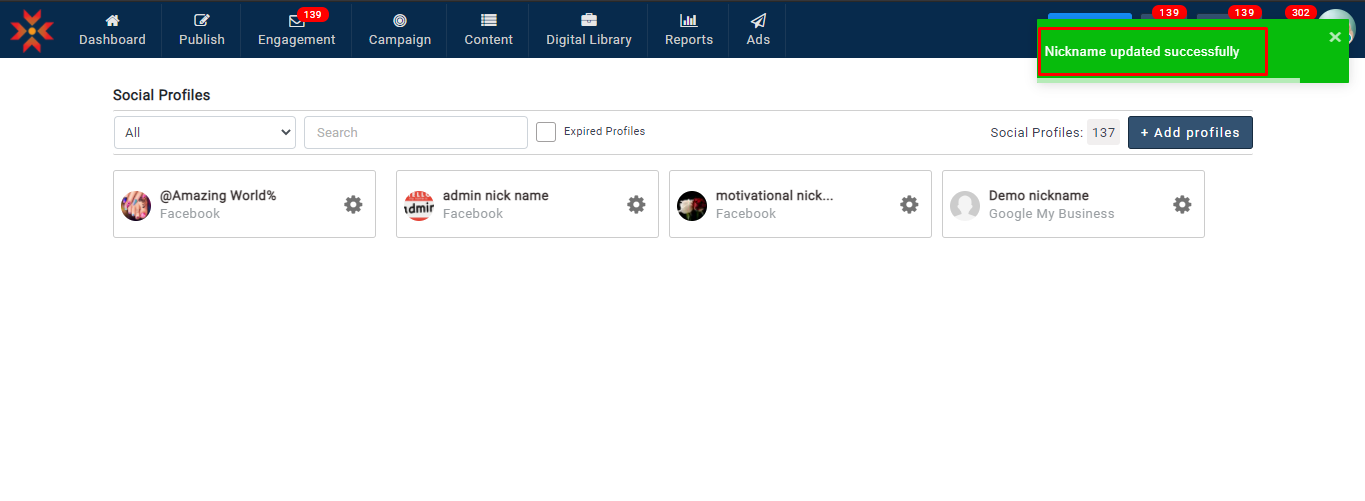
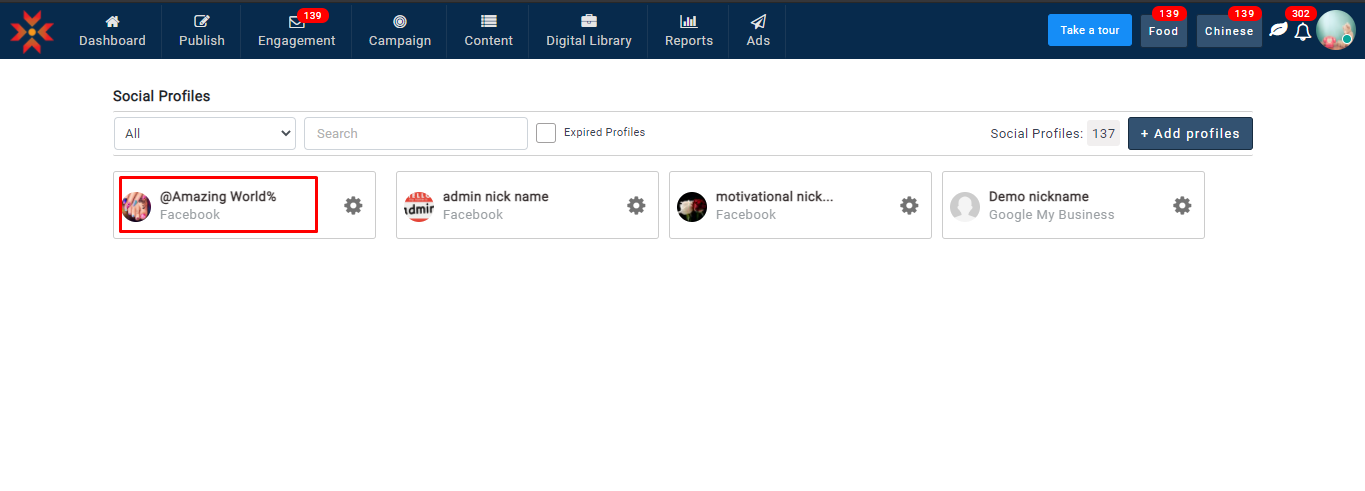
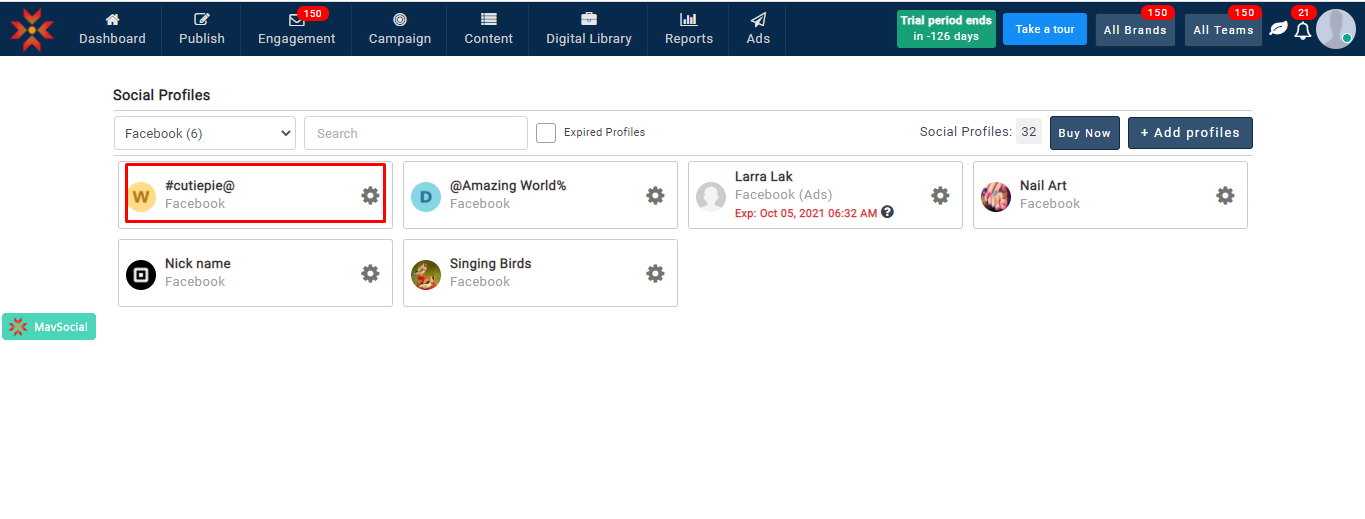
- You can see the nickname for your updated Facebook profile across all of MavSocial.
.
How to create nicknames while adding profiles?
- Navigate to Account → Social Profiles

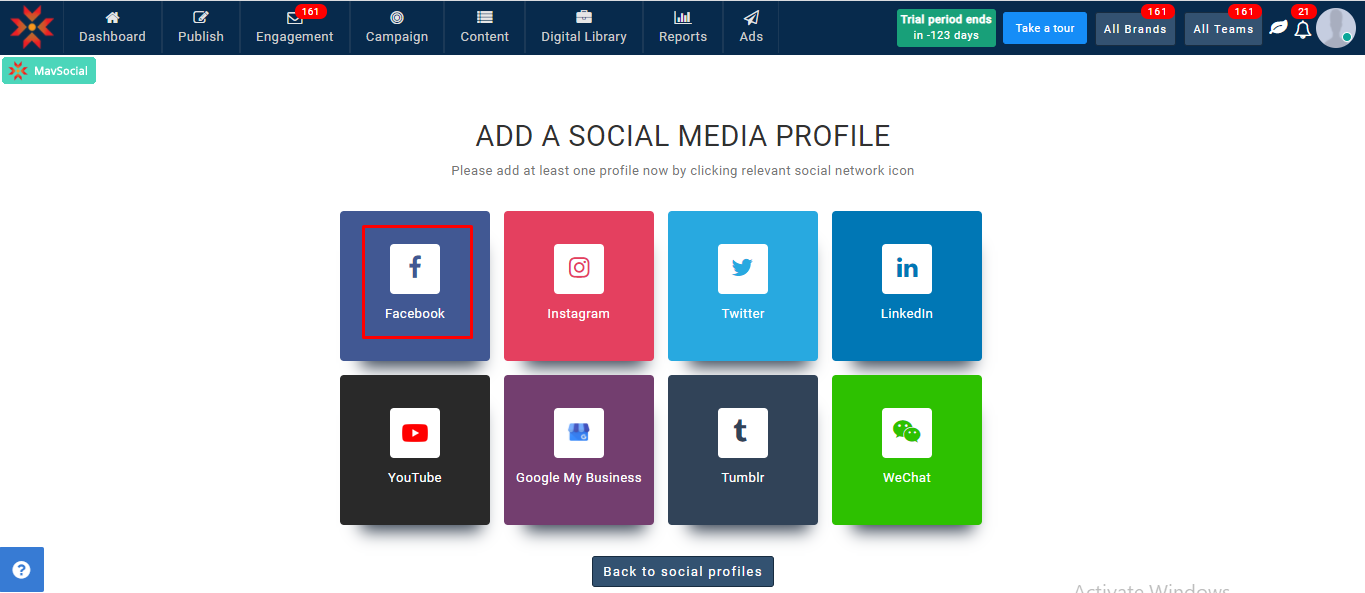
- Select Add profiles

- Select Facebook network
- Enter your login credentials and click login to connect your Facebook profile in MavSocial.
- Select a profile that you want to add
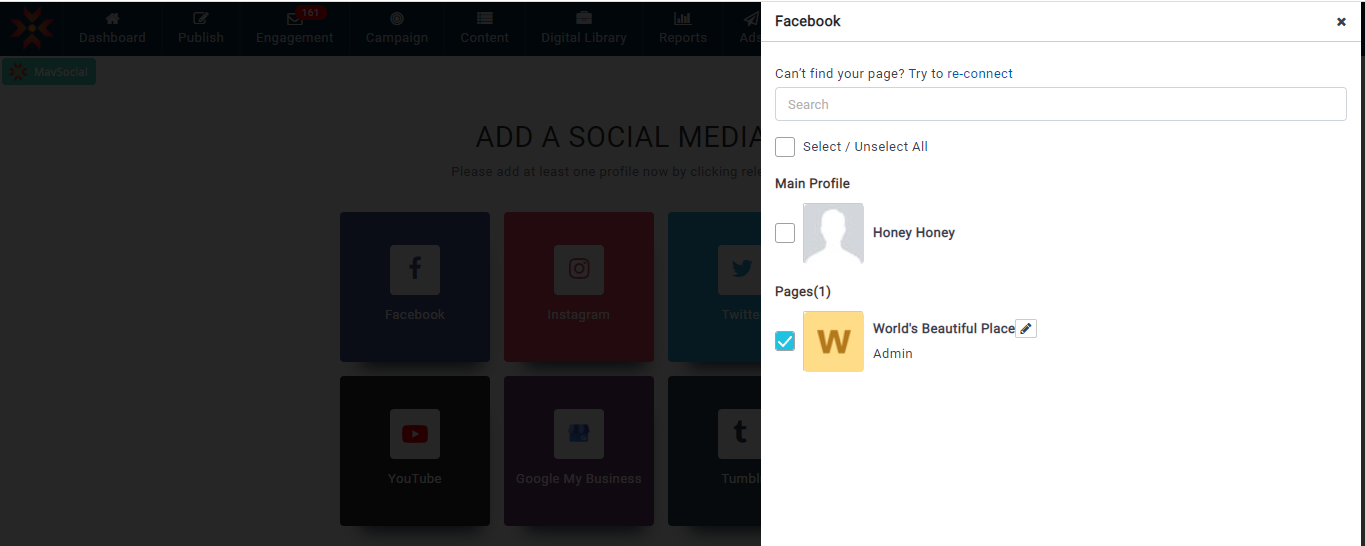
- Here you can see a Nickname icon after the profile name.
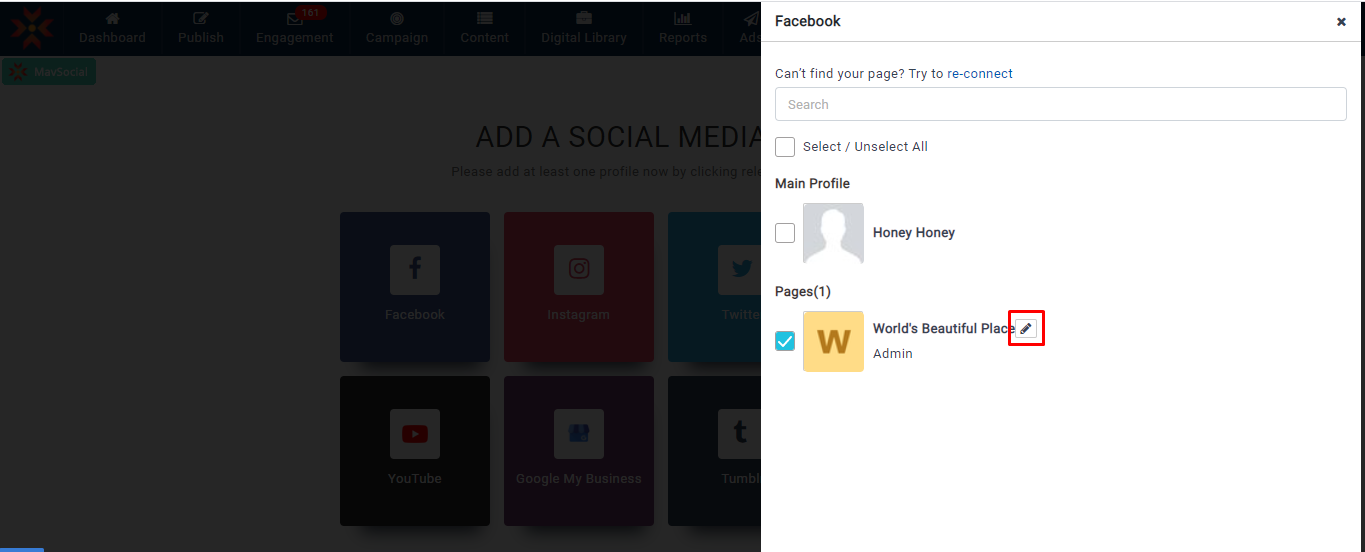
- Using that icon, you can add a nickname for a Facebook profile.
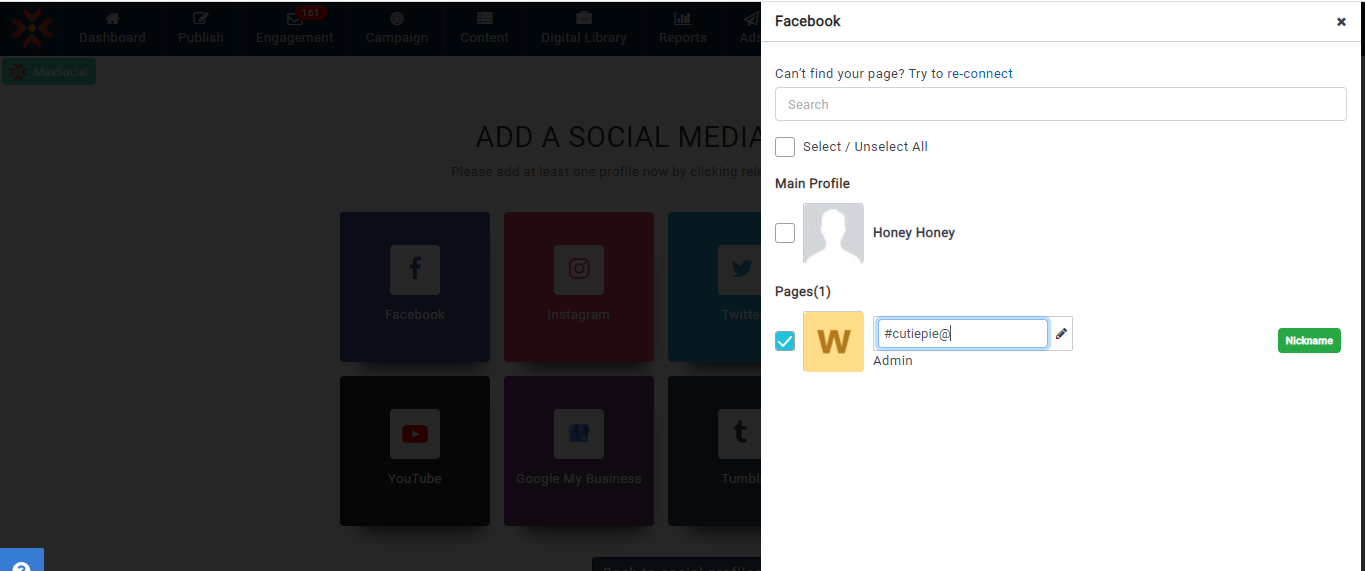
- Click on Save to add a profile with an updated nickname.
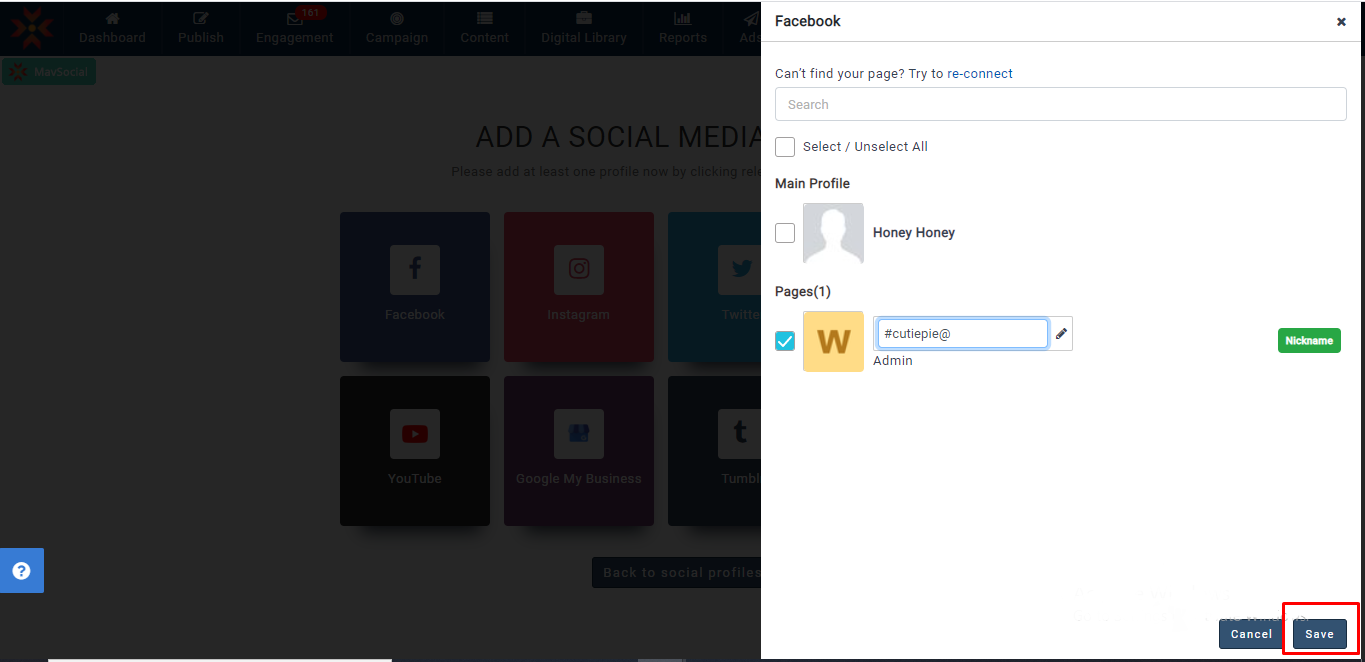
- You will receive a notification message once you add the account successfully.
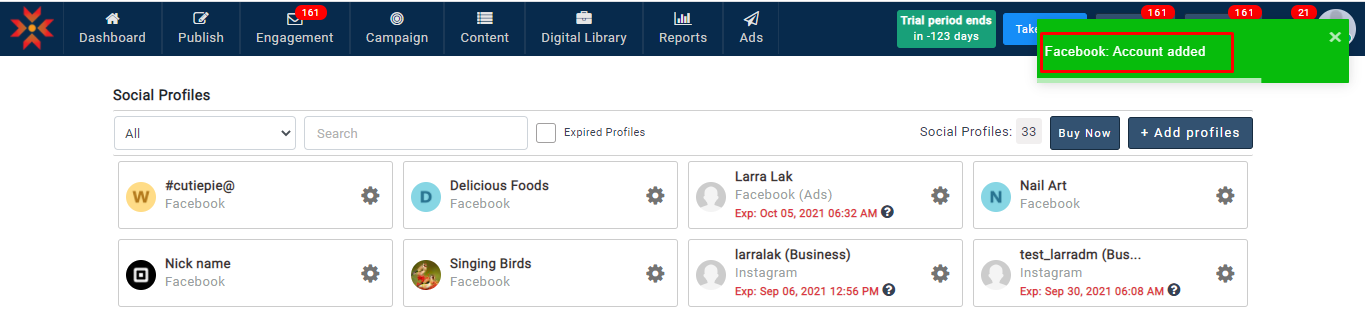
- You can see the added profile with the updated nickname across all of MavSocial.
How to edit and delete a nickname?
- Navigate to Account → Social Profiles
- Click the gear icon of the Facebook profile, which you want to edit or delete the nickname.
- Select details
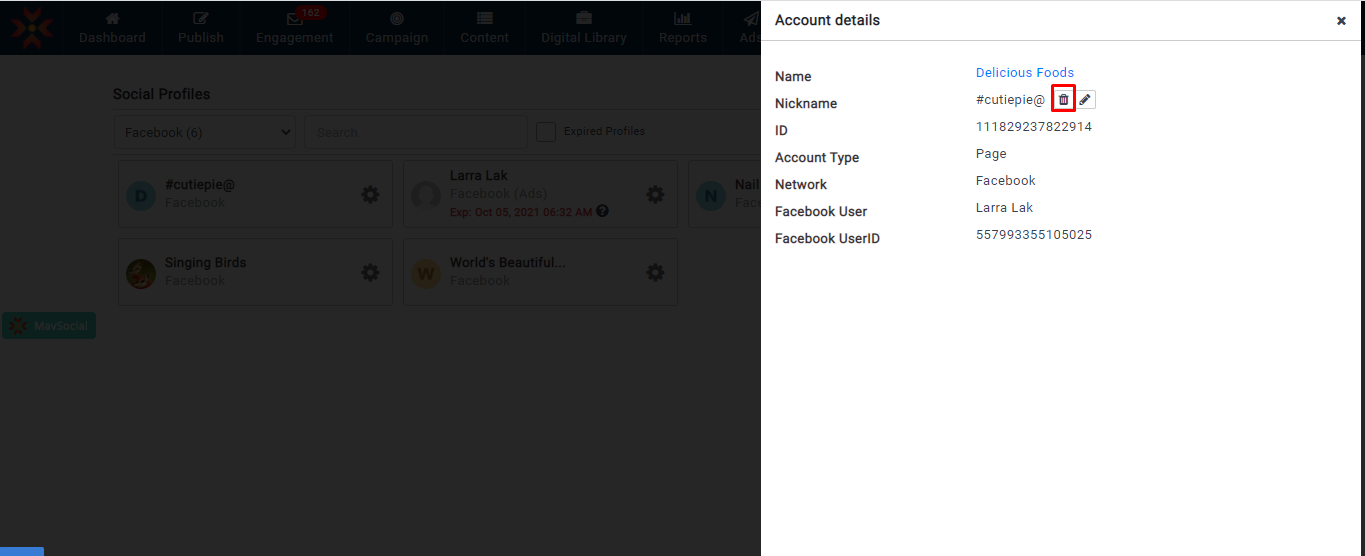
- You can see the options to Delete and Edit
- Click on the delete icon to delete the nickname.
- You will see a notification once a nickname is deleted.
- If you want to edit a nickname, you can select the edit option
- Click on update to update your nickname

- You will see a notification once the nickname is updated.
Note: Adding nickname steps will be the same for Google Business Profiles and Instagram
Comments
0 comments
Please sign in to leave a comment.