The Post Manager allows you to publish posts to your social media pages.
The Post Manager
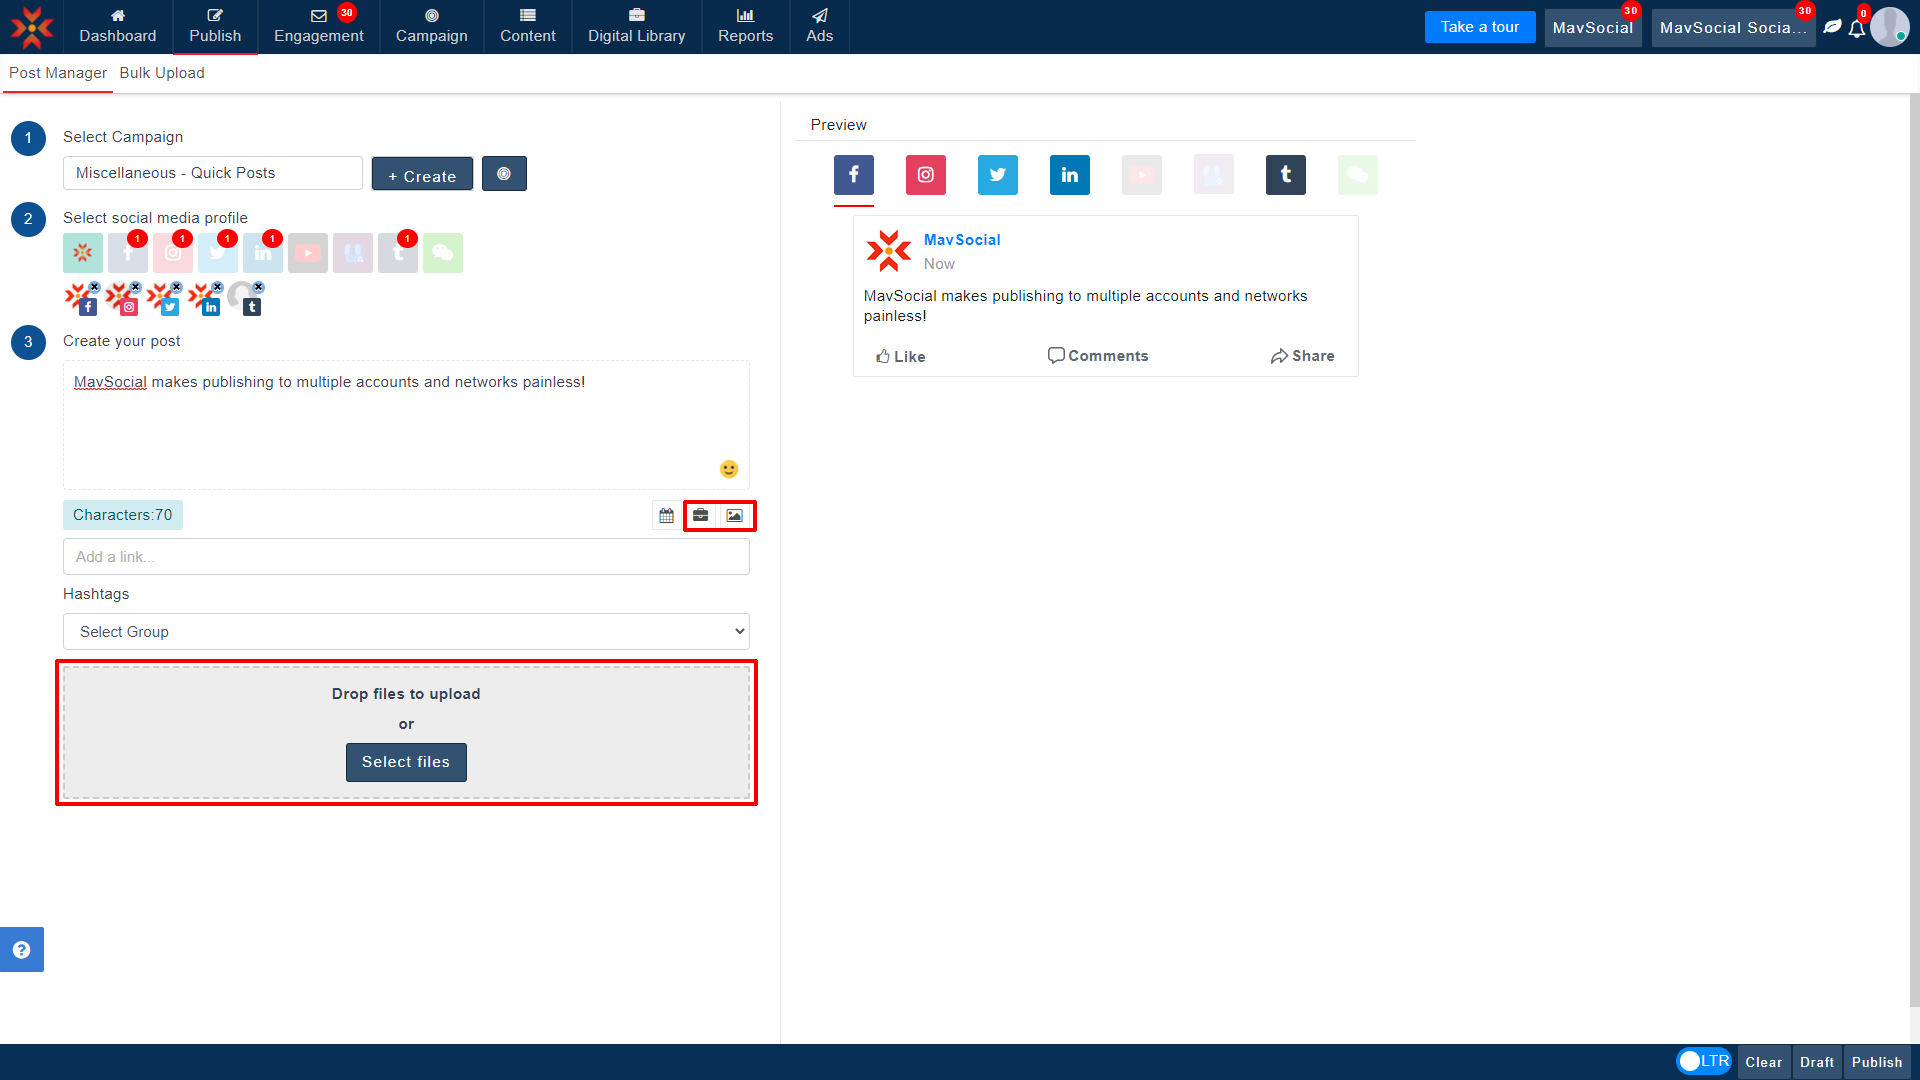
Navigate to the Post Manager.
From here you can Publish the post immediately, save the post as a Draft, or Schedule the post to publish at a particular date and time.
Adding/Publishing Posts
To publish the post, follow the steps given below.
- Navigate to Post Manager.
- Choose which campaign to add the post to.
Campaigns are groups of posts, which allows you to automate, re-publish, and run analytics on entire campaigns. - Select the social media accounts and networks you would like to upload to.
Hover over the social media icons and check the checkboxes of accounts you would like to post to.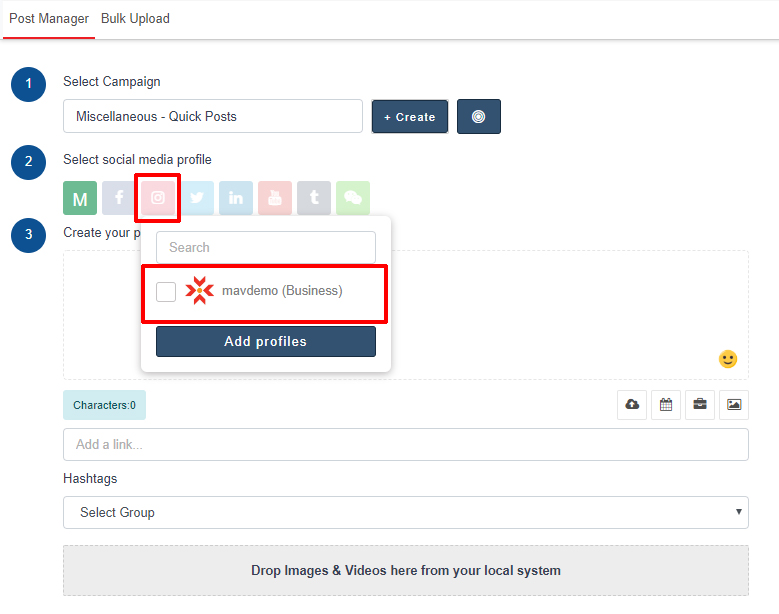 The number of selected social profiles for each social network is shown in the network icon’s corner.
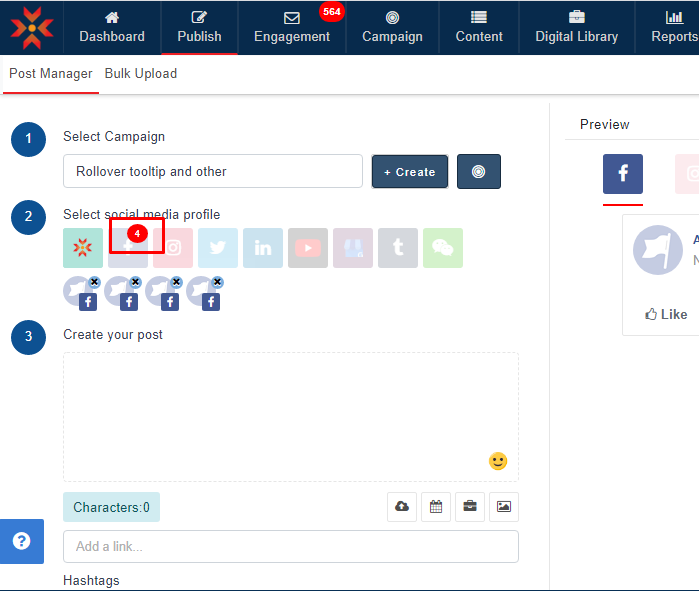
Rolling over a selected social profile will show the profile name.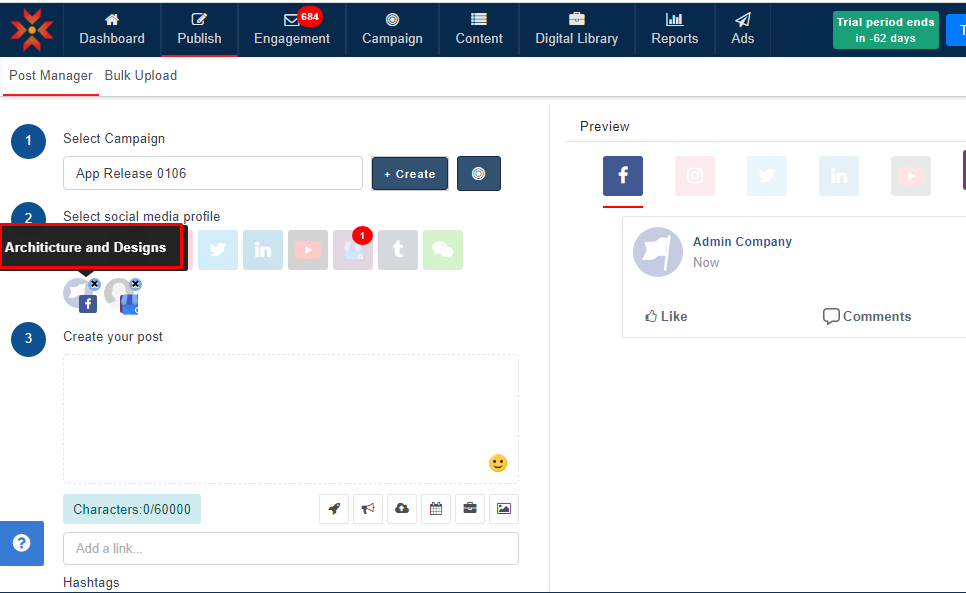
Deselect social profiles by clicking the small cross icon in the top-right corner of the account icon.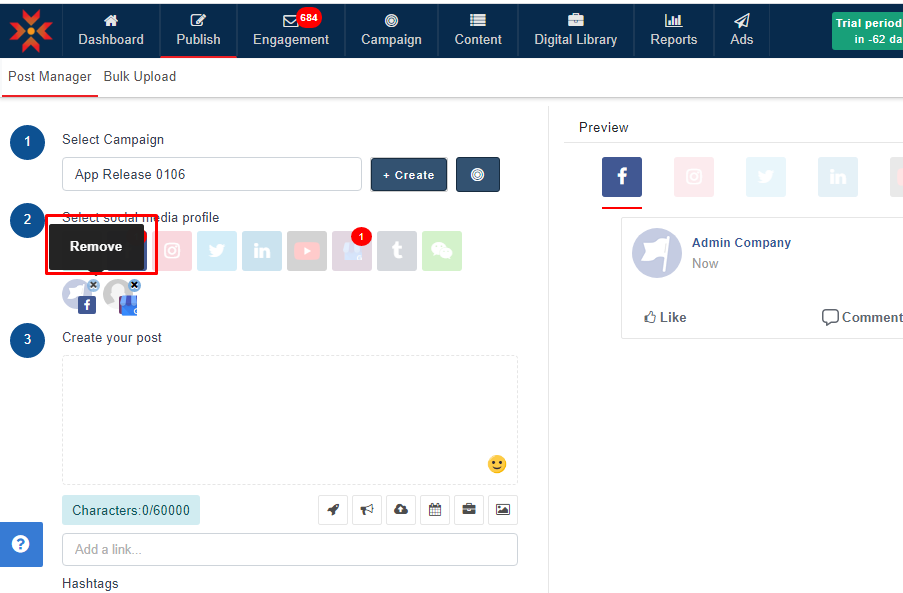
- To add images or videos, you can select images from the Digital Library, select from the Stock Image Library, or upload images directly from your computer by clicking Upload Asset, or dragging and dropping to the box at the bottom of the Post Manager.
 To upload a file from your computer, click Upload Asset and select the files you wish to add.
To search for a file from the Digital Library, search the title, tags, or part of the descriptions for the images The results will be displayed based on the entered search keyword.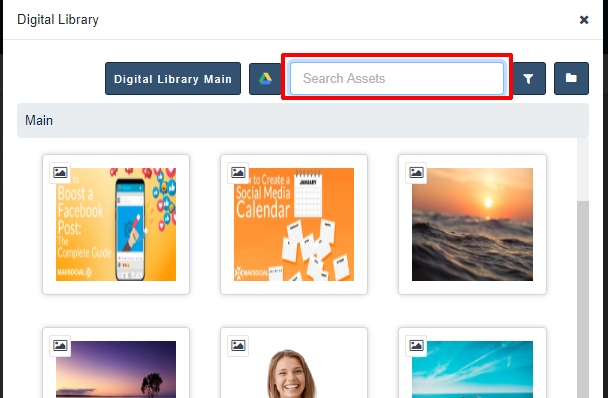
You can also obtain an image for your post by searching the Search Stock Image Library. Simply type a keyword for the image you would like to find, and MavSocial’s AI-powered library will scan images for the most relevant images. All images in the Stock Image Library are free to use. - Complete your post by adding Hashtags and links.
To add a Hashtag, type the hash character (#), followed by the keyword you would like to tag.
To add a link, simply paste the link in the “Add a link” box.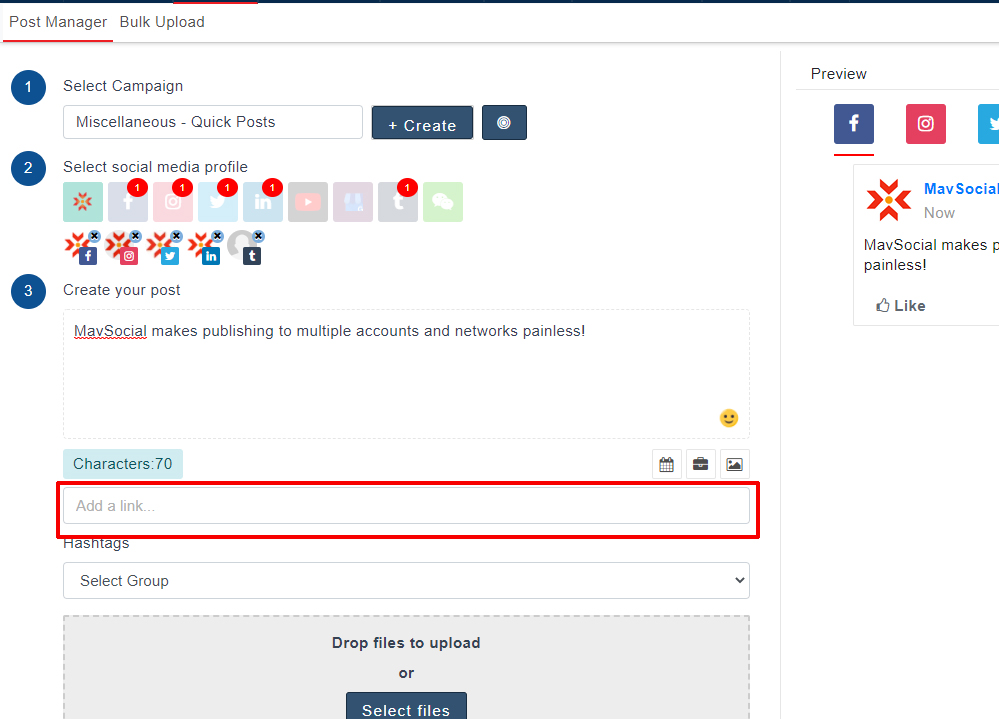
- Once finished creating the post, you may Publish the post, save the post as a Draft, or Schedule the post to publish at a specific date and time.
- To publish, press the Publish button in the bottom-right corner.
You will then see a message to confirm you have the right to publish the content you have included in your post.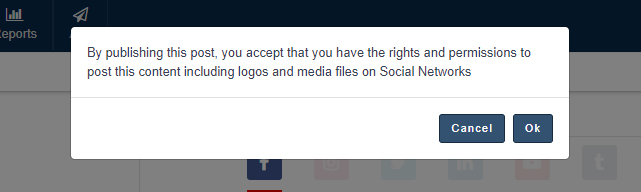 Once you have accepted these terms and pressed Ok, a notification will appear in the top-right corner confirming that you have successfully published your post to the selected social media networks.
- To save this post as a Draft, press the Draft button in the bottom-right corner of the screen. Your post will be saved as a draft in the selected campaign.
- To Schedule, this post, pre

On the pop-up sidebar, choose the date and time you’d like to post, and according to which timezone. When finished selecting the date and time to publish, press Ok in the bottom-right corner of the sidebar to close the sidebar and press Schedule in the bottom-right corner of the page.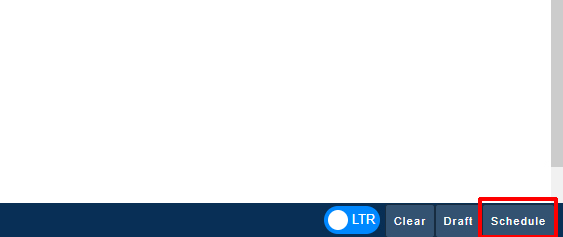 You will see a notification in the top-right corner of the page to confirm that you have successfully scheduled your social media post.

Posting in Queues
- To access a queue from the Post Manager, you need to select a previously created queue from the Select Campaign dropdown.
Queues are signified with a small green clock icon.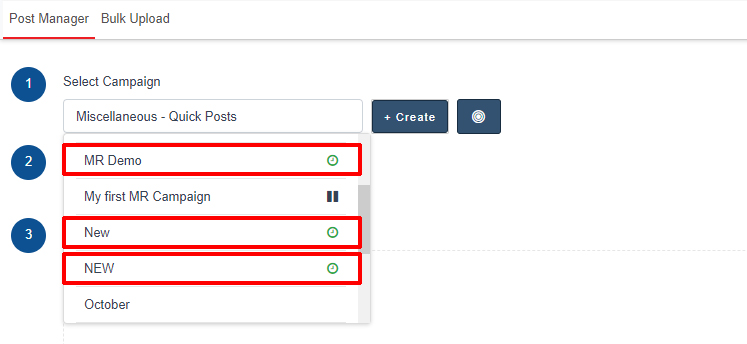
- Then compose your posts as usual.
- When you’re finished, press Add to queue in the bottom-right corner, and the post will be added to the queue of posts in your queue.
Comments
0 comments
Please sign in to leave a comment.